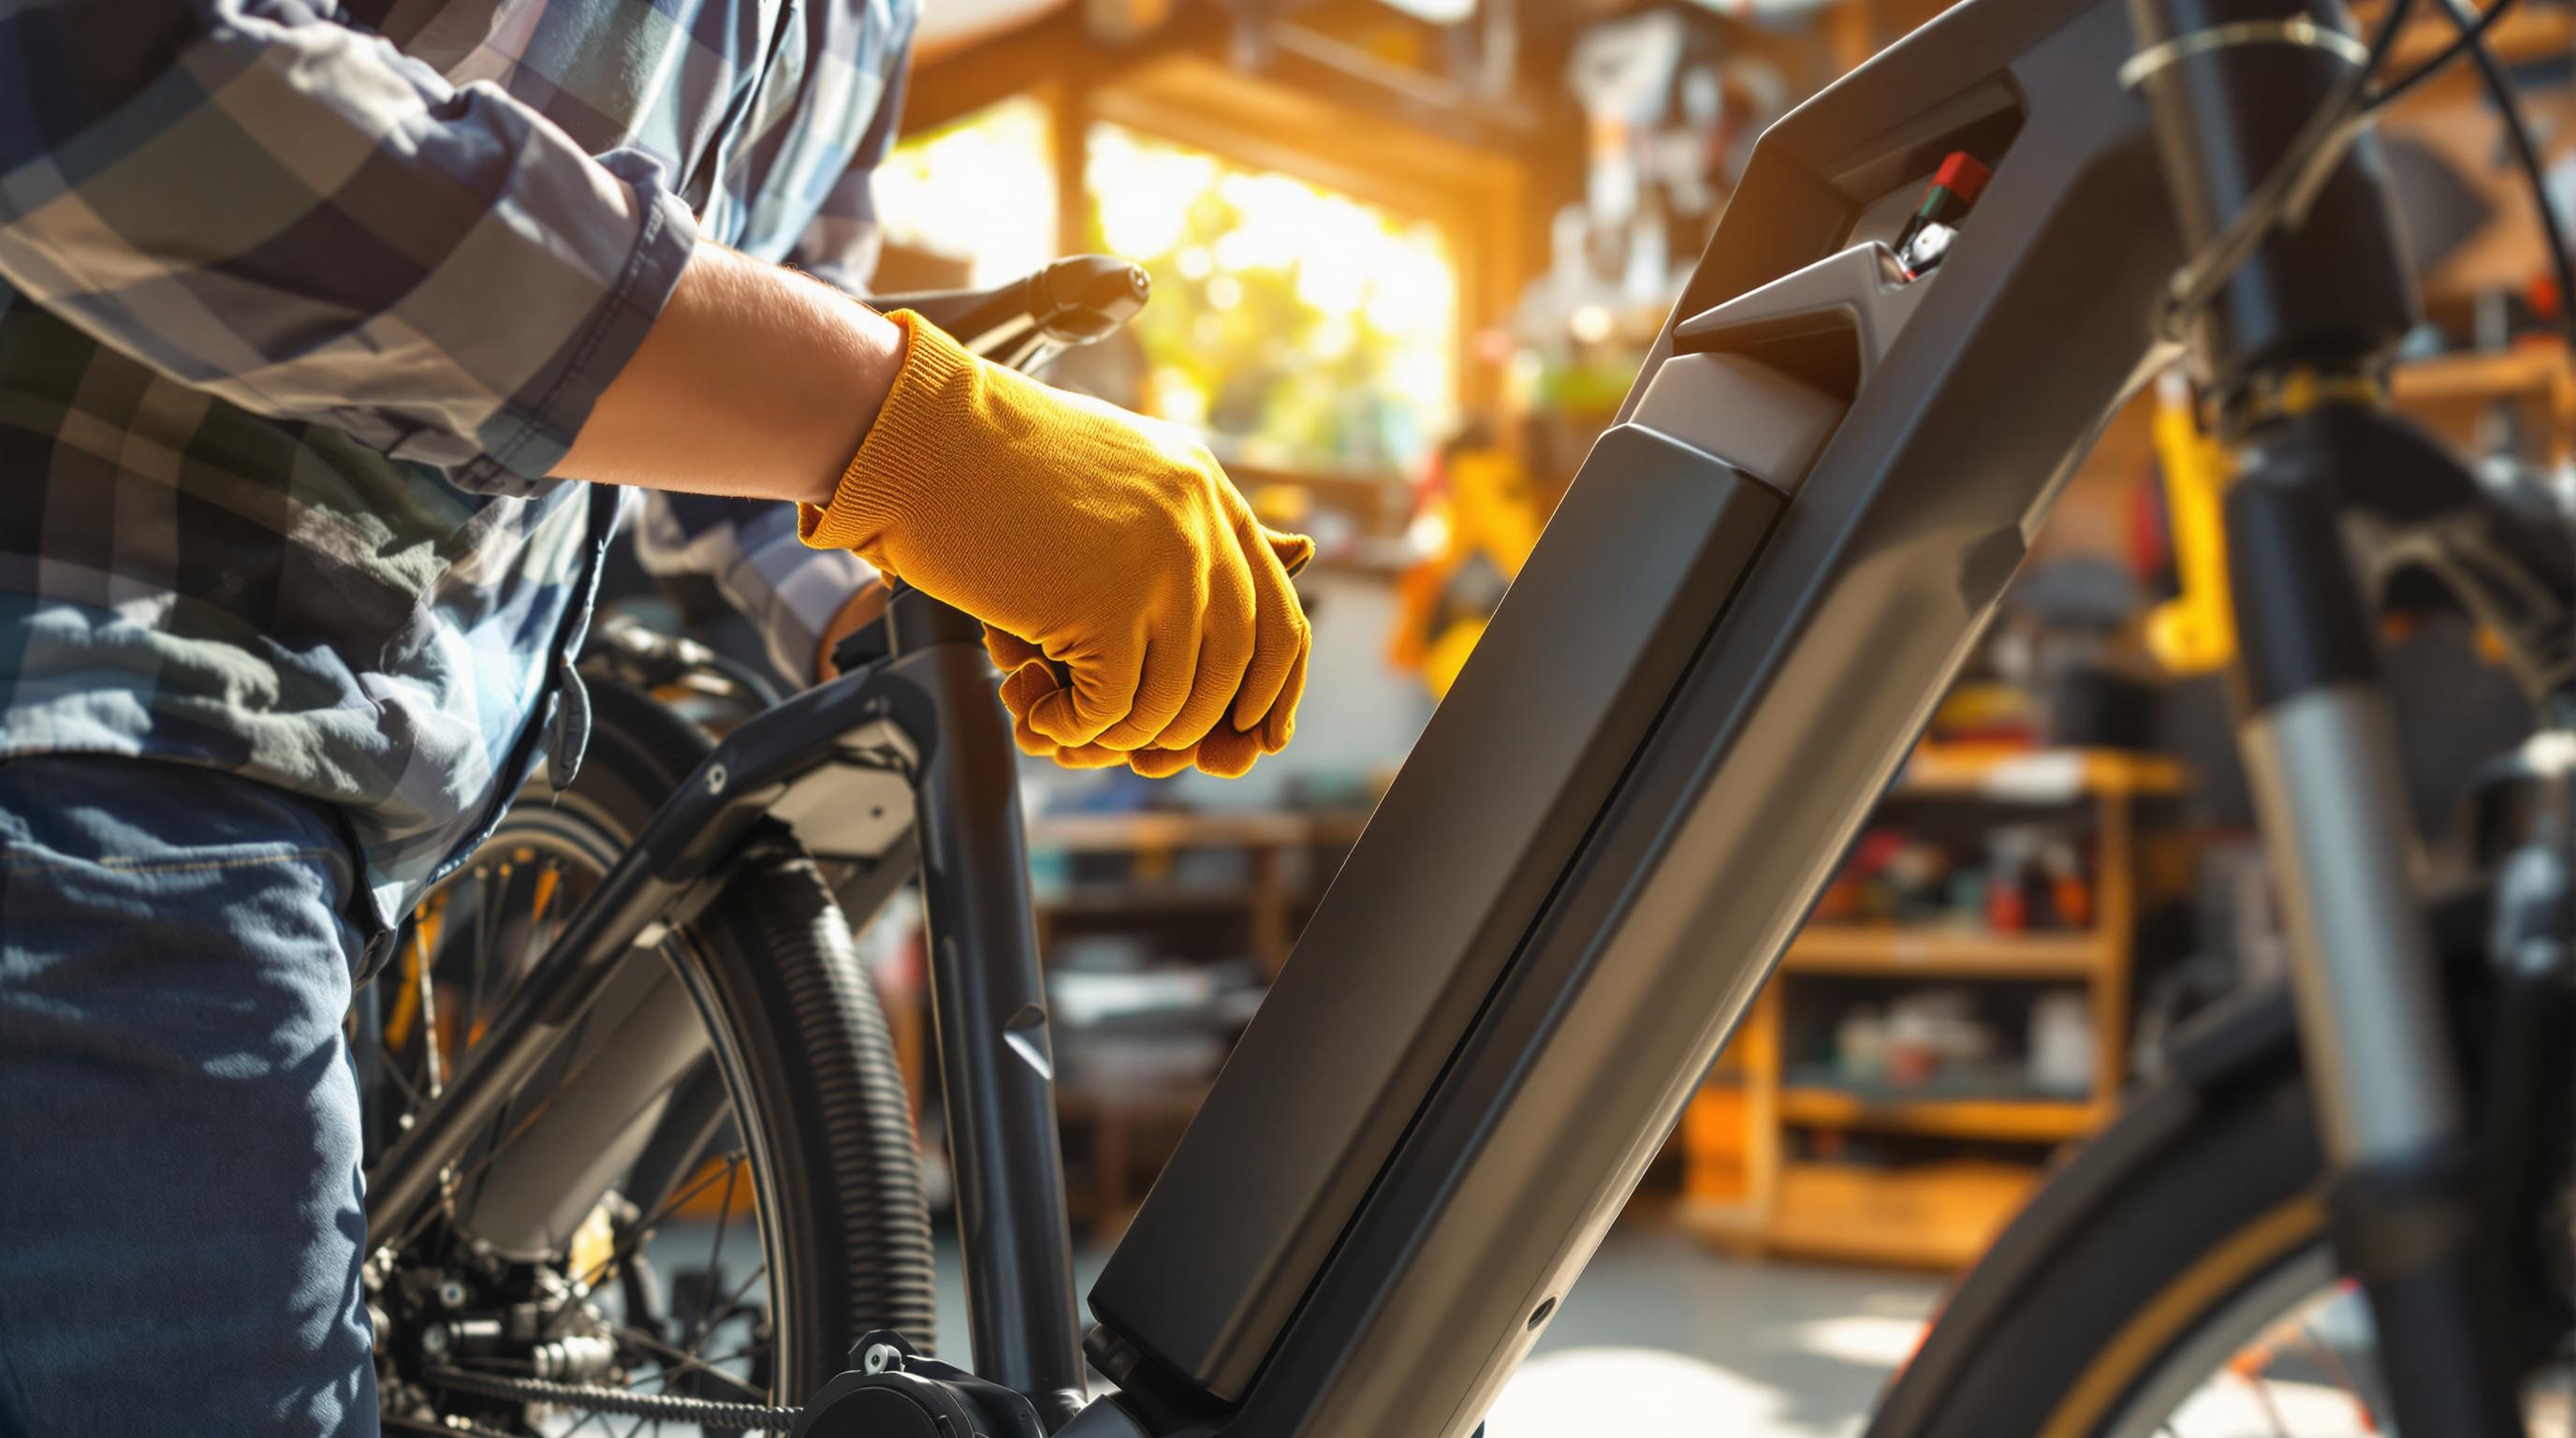
How to Fix Loose E-Bike Battery Connections

How to Fix Loose E-Bike Battery Connections
Quick Fix Steps:
- Inspect the battery: Look for loose mounts, corrosion, or misaligned pins.
- Clean connections: Use isopropyl alcohol and contact cleaner to remove debris and oxidation.
- Tighten everything: Secure screws, align pins, and adjust springs carefully.
- Protect connections: Apply a thin layer of dielectric grease to prevent moisture and corrosion.
- Test the system: Reinstall the battery, check voltage, and ensure stable power delivery.
Prevention Tips:
- Check connections monthly.
- Clean and grease contact points every 3 months.
- Store batteries at 40-60% charge in a cool, dry place.
If problems persist, consult a certified e-bike technician to avoid further damage. Regular maintenance ensures safe and reliable rides.
How to Fix Loose Battery Wires on E-Bikes
Required Tools and Supplies
Make sure you have the right tools and safety gear ready before repairing loose battery connections. This will help you work efficiently and safely.
Tools You'll Need
Here’s a list of tools to diagnose and fix loose battery connections:
- Digital multimeter: Essential for checking voltage and continuity (costs around $20–$40).
- Precision screwdriver set: Includes common Phillips and flathead sizes for various screws.
- Contact cleaner: Use an electronic-grade spray cleaner (avoid products like WD-40).
- Wire brush: A small brass brush works well for cleaning battery terminals.
- Isopropyl alcohol (91%): Helps remove oxidation and debris from connections.
- Lint-free microfiber cloths: Prevents static buildup and ensures a clean surface.
- Dielectric grease: Protects connections from moisture and corrosion.
- Terminal crimping tool: Handy if you need to replace wire terminals.
- Needle-nose pliers: Useful for adjusting and securing connectors.
- Torque wrench: Ensures screws are tightened to the correct level.
Safety Gear to Have
Working with e-bike batteries requires proper safety precautions. Be prepared with the following:
- Insulated gloves: Designed for electrical work (Class 0 rating or higher).
- Safety glasses: Protects your eyes, especially with side shields.
- ESD mat: Anti-static mat to prevent static discharge.
- Fire-resistant work mat: A safe surface for placing the battery during maintenance.
- Ventilated workspace: Choose a well-lit area with good airflow.
- First aid kit: Include supplies for treating burns, just in case.
- ABC fire extinguisher: Specifically rated for electrical fires.
Once you’ve gathered everything, you’re ready to inspect the battery connections and begin repairs.
How to Check for Battery Problems
Before attempting any fixes, it's important to figure out if your e-bike's battery connections are causing issues. Spotting the warning signs and doing a few checks can help pinpoint the problem.
Signs of Battery Connection Issues
Here are some common signs that your battery connections might not be working properly:
- Sudden shutdowns, especially on bumpy rides
- Motor assistance cutting in and out
- Flickering or erratic display readings
- A noticeable drop in range (20% or more)
- Clicking or rattling sounds from the battery compartment
- A battery pack that feels loose or shifts in its mount
- Slower acceleration or uneven power delivery
These clues can help you figure out what to check next.
Steps to Inspect Battery Connections
Follow these steps to thoroughly check your e-bike's battery connections:
1. Start with a Visual Inspection
Take a close look at the battery mount and connection points. Check for any damage, corrosion, or misalignment. Ensure the battery is seated securely in its housing.
2. Test the Voltage
Using a digital multimeter set to DC voltage, perform these checks:
- Measure the battery's voltage while it's installed.
- Compare the readings at different connection points.
- Gently shift the battery and watch for any changes in the voltage.
3. Inspect Physical Connections
After the visual and voltage checks, dive deeper:
- Remove the battery and examine the contact points for wear, bent pins, or any damage.
- Look for signs of oxidation, like green or white residue.
- Check that the mounting rails are straight and undamaged.
4. Examine Key Connection Points
Pay extra attention to these areas:
- Terminal pins and contact springs - ensure they're properly aligned and have enough tension.
- Mounting brackets - confirm they're securely fastened.
- Wiring harness - inspect for any wear or damage.
If you encounter serious damage or aren't comfortable handling these checks, it's a good idea to consult a professional e-bike technician. While many issues can be fixed by cleaning or tightening connections, some problems may need expert help to ensure your e-bike stays safe to use.
5 Steps to Fix Battery Connections
Follow these steps to restore secure and reliable battery connections for your e-bike.
1. Remove the Battery Safely
First, turn off your e-bike and wait about 30 seconds to allow the capacitors to discharge. If your bike uses a battery key, remove it. Then:
- Hold the battery steady while disconnecting it.
- Place it on a clean, dry surface to avoid contamination.
2. Clean the Contact Points
- Remove any debris with a soft brush.
- Use 91% isopropyl alcohol to clean the contacts.
- If there's oxidation, apply an electrical contact cleaner.
- Gently scrub the contacts with a soft eraser.
- Ensure the surfaces are completely dry before proceeding.
Important: Avoid using sandpaper or metal brushes; they can damage the protective coating on the contacts.
3. Secure Loose Connections
- Tighten the mounting bracket screws to the manufacturer’s specifications.
- Check the terminal pins and make sure they’re properly aligned.
- Adjust any misaligned contact springs carefully.
- Replace damaged connectors with parts specified by the manufacturer.
- Double-check that all fasteners are securely in place.
4. Apply Contact Protection
- Spread a thin layer of dielectric grease on the contact points.
- Use silicone-based grease specifically designed for electrical connections.
- Cover the terminal pins and contact springs, but don’t overdo it - excess grease can attract dirt.
- Wipe away any extra grease with a clean cloth.
5. Test the Connection
Reinstall the battery, ensuring it locks securely with a click. Power up the system, check the battery indicator and voltage readings, and test the power output while the bike is stationary.
Safety Tip: If you’re unsure about any step or encounter unexpected problems, stop immediately and consult a professional e-bike technician. Proper battery connections are essential for safe operation.
If the problem continues, recheck your work or seek help from a qualified technician.
How to Prevent Future Problems
Regular maintenance is key to keeping battery connections secure and avoiding power loss.
When to Check Connections
Stick to a regular inspection routine to keep things running smoothly:
- Weekly checks: Take a quick look at the battery housing and mounting points.
- Monthly maintenance: Clean connections and make sure everything is tight.
- Seasonal inspection: Do a deep clean and carefully assess all connections.
- Post-ride scan: After riding in harsh conditions, visually inspect the battery.
These steps work alongside the connection inspections mentioned earlier to ensure everything stays in good shape.
Battery Care Guidelines
Taking care of your battery can help you avoid many common problems:
- Temperature control: Store batteries in a range of 50°F–77°F (10°C–25°C) to maintain performance.
- Charging practices:
- Keep the charge level between 20% and 80%.
- Wait 30 minutes after use before plugging it in to charge.
- Connection protection:
- Apply dielectric grease every three months during cleaning.
- Clean and dry battery contacts regularly.
- Use only the cleaners recommended by the manufacturer.
- Storage protocol:
- Remove the battery if the bike will sit unused for more than two weeks.
- Store the battery with a charge of 40-60% for long-term storage.
- Check connections monthly while the battery is stored.
Signs You Need a Professional
Even with regular care, some problems call for expert help. Watch for these red flags:
- Physical damage: Cracks in the housing, bent pins, or damaged terminals.
- Persistent connection issues: Problems that keep coming back despite proper maintenance.
- Error codes: Repeated battery communication errors showing on your system.
- Unusual behavior:
- The battery won’t hold a charge.
- Power delivery is inconsistent.
- Connection points feel excessively hot.
- Corrosion that doesn’t clean off.
If you notice any of these issues, stop using the battery and consult a certified technician right away.
Professional Repairs: Electric Bike Repair Near Me

If cleaning and tightening your e-bike's components aren't solving the problem, it might be time to call in the pros. Electric Bike Repair Near Me connects riders across the U.S. with certified technicians who specialize in fixing battery connections and other electrical issues. These services go beyond routine maintenance to help keep your e-bike running smoothly.
Why Choose Professional Repair?
Opting for professional repair comes with several advantages:
- Certified Technicians: Experts trained specifically in e-bike electrical systems.
- Advanced Tools: Access to diagnostic equipment for pinpointing issues accurately.
- All-in-One Service: Includes diagnostics, repairs, performance adjustments, and even mobile repair options.
How to Find a Repair Shop
Follow these steps to locate a trusted repair service:
- Head to the directory website.
- Enter your location.
- Review ratings and available services.
- Ensure the shop is certified for battery repairs.
- Call to check availability.
When choosing a repair shop, keep these points in mind:
- Technician Certification: Make sure they’re certified for your e-bike brand.
- Service Options: Confirm they handle battery diagnostics and repairs.
- On-Site Repairs: See if they offer mobile repair services for added convenience.
Many certified shops offer an initial diagnostic assessment to determine what’s needed before moving forward with repairs. This ensures you know exactly what to expect.
Maintaining Strong Battery Connections
Keeping your battery connections secure is key to your e-bike's performance and safety. With regular care and attention, you can avoid most connection problems before they escalate.
Key Takeaways
Reliable battery connections rest on three main practices: keeping them clean, tightening them properly, and inspecting them regularly. These simple steps help ensure steady power delivery and can even prolong your e-bike's lifespan.
- Check contact points monthly.
- Use an electrical cleaner and lint-free cloths for cleaning.
- Tighten connections following the manufacturer’s recommendations.
By sticking to these habits, you’re setting yourself up for smooth and trouble-free rides.
Next Steps
Start by thoroughly inspecting your battery contact points. For minor issues, clean and tighten the connections as needed. If problems persist or seem more serious, it’s best to reach out to a professional.
Use Electric Bike Repair Near Me to locate certified technicians who specialize in e-bike electrical systems. They have the tools and know-how to handle more complex connection issues safely and effectively.
To avoid future hassles, create a maintenance schedule. Regular care now can save you money and extend the life of your e-bike in the long run.